Have you already decided on the model you want? Then it’s time to take action. If you have decided to assemble your computer piece by piece without being a computer guru, it is normal that it is difficult to install all the components on their respective motherboard.
Don’t worry, though. In fact, it’s just like putting a puzzle together. The important thing is that you pay close attention to detail to achieve a good result. Have you picked up loose parts and now you don’t know how to assemble them? Here are the steps to follow. So now you know: take paper and pencil because this information -really- interests you.
Step 1 – Open the cabinet of the computer case
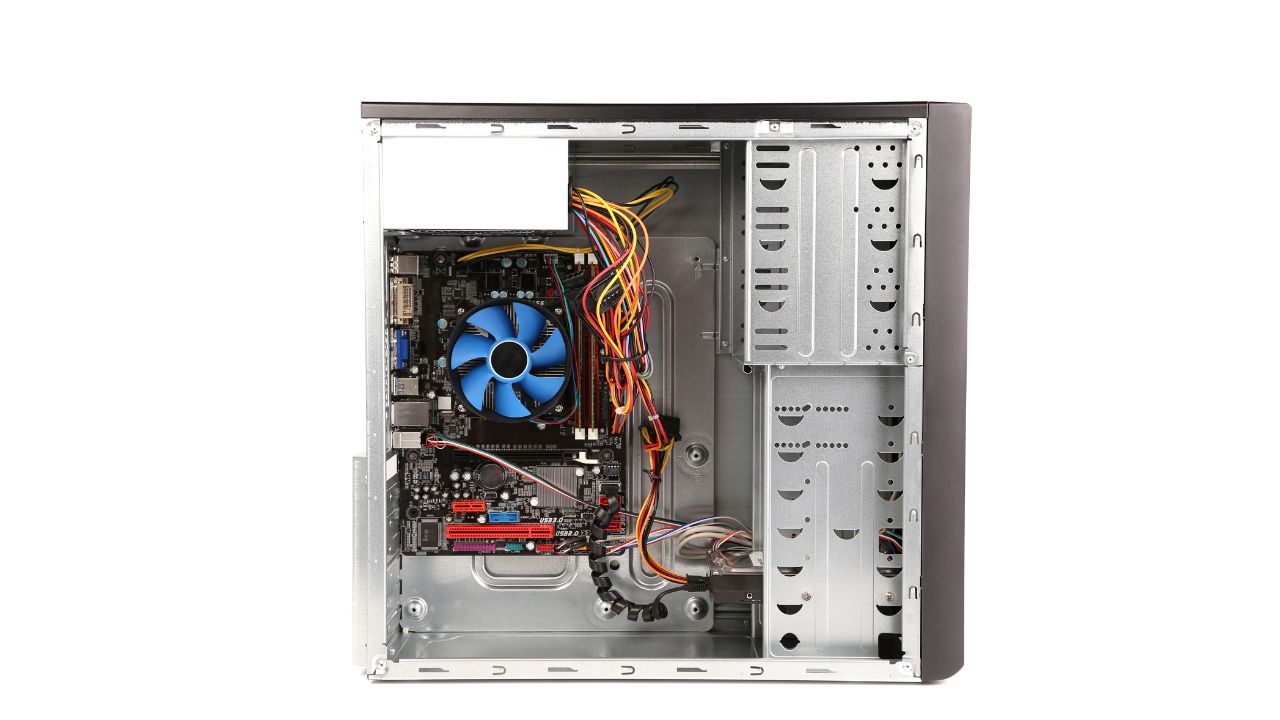
First of all, you have to prepare the PC case well so that you can install the motherboard directly without anything disturbing it. To do this, you must remove the front panel of the case, also known as the cabinet.
Most of the time it is removed by pressing slightly to the side or by removing a couple of screws. Therefore, it is not a bad idea to have a screwdriver handy. Also, we recommend that you do this whole process from a semi-elevated position. For example, on a table. This way you won’t have to suffer from back pain later on.
Step 2 – Remove the rear panel protector
All motherboards have, on their rear side, a small panel protector where the video and USB connections are made, along with the rest of the devices. In those cases where it is not integrated in the motherboard you must remove it from the beginning. If you do this when installing the board it will be difficult to connect the rest of the components. In addition, these could be damaged by rubbing.
When removing the panel, press it slightly inwards until the metal part gives a little and you can remove it completely. Finally, make sure that the board fits perfectly into this hole so that you only have to make the corresponding connections afterwards.
Step 3 – Install the main components
Things are starting to get serious. Before fixing the motherboard into the PC case, let’s first install the rest of the components, such as the CPU, RAM or heatsink. First of all, take the processor and very carefully “push” it into the socket itself. Do not apply any force or pressure, otherwise the metal terminations that come with it could be damaged.
In the case of the memory slots, the cards must be installed in the slots provided; it is advisable to use even modules to make use of the Dual Channel. The PC fan must be on the top of the socket. If the heatsink does not have it as standard, put some thermal paste on it (a drop is more than enough) so that it is perfectly fixed.
We don’t need to tell you that each of these components must be compatible with the motherboard model. So, pay close attention! Keep this in mind if you don’t want to be disappointed.
Step 4 – Locate and attach the motherboard standoffs
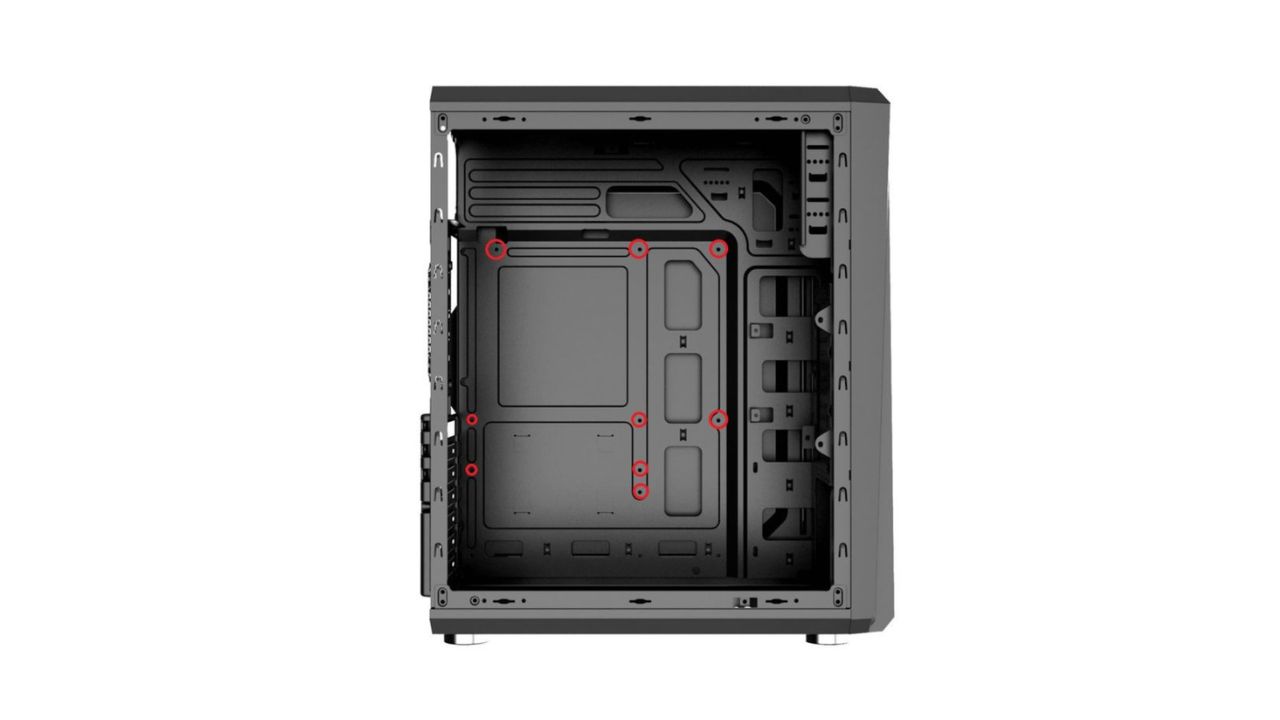
As you may have noticed, inside the motherboard case there are a series of screws-separators that must be attached to this component to prevent the electric current from altering the correct operation of the other devices.
Once you have them in your possession, prepare them to be inserted. To do this, pay close attention to the different holes. You can “align” the motherboard to check which standoffs to use. Once this is done, you will only have to screw them to the motherboard and the PC case.
Here it depends a bit on the model you have, as there are some models where just a little pressure is enough. Just don’t leave any of them hanging! Otherwise, the final configuration may not work properly.
Step 5 – Let’s start with the first connections
The power supply (PSU) is usually one of the most cumbersome components to connect to the motherboard. First of all, it has to be attached to one of the sides of the case using the corresponding screws. We must also make sure that we do it as it should be done to facilitate the cooling of our tower.
When it is finally attached to the case, connect the wiring to the motherboard pins. You must make sure that both the 20 + 4 pins connector and the 4 or 4+4 pins connector are properly inserted. If in doubt, you can always take a look at the manufacturer’s instructions.
After this, connect the front panel cables. This is, in a nutshell, what will turn on the PC via a switch. This part can be a bit tricky if you are installing a motherboard for the first time, as there are many small wires that need to be connected directly to the part. You can also check tutorials on YouTube if you need a more graphic explanation.
Continue with the USB connectors and the CPU fan.
Next, connect the cables for the USB 2.0 and 3.0 connections. This step is simple, as most motherboards have a sticker on them.
In the case of the fan, connect it to its corresponding pin and that’s it. On some models there are different options to connect it, so that the cable does not interfere with the others. One way or another, most of them are next to the CPU socket.
Step 6 – Connect the storage drives
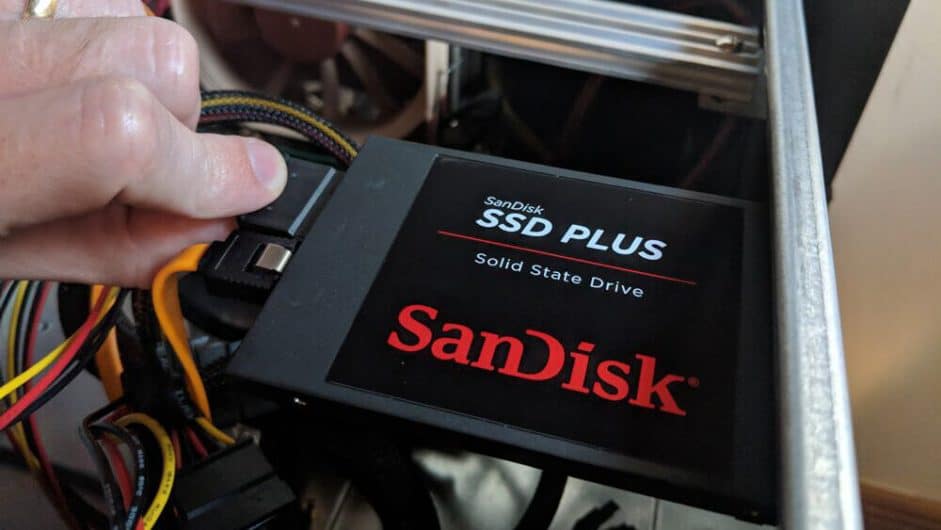
Now that you have the main components installed to the motherboard, it’s time to install the storage drives, such as HDD, SSD and NVMe Here it depends a bit on the type of case you have, although they usually come with different removable trays where to “perch” the hard disk.
Once this step is completed, finish connecting the SATA cables, which are responsible for transmitting the data directly to the motherboard, or position the NVMe drive in its M.2 slot.
Step 7 – Go for the graphics card!
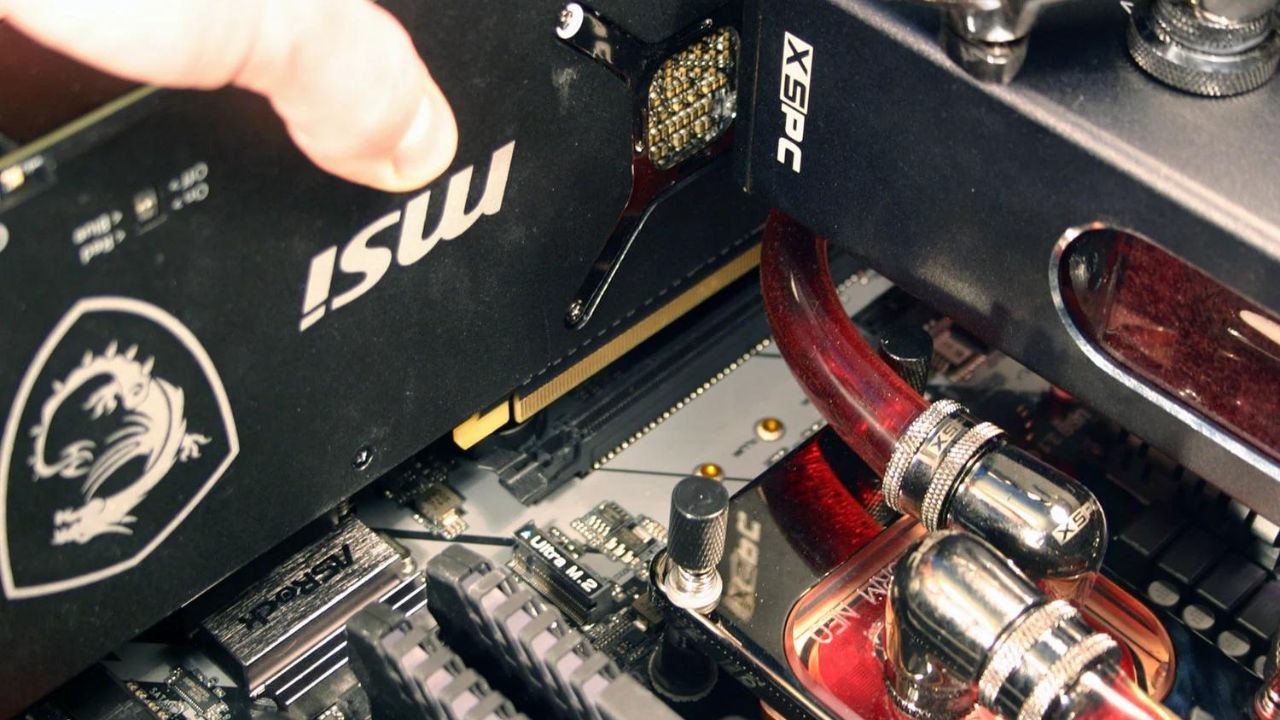
Now we come to one of the most important moments when it comes to assembling a computer by parts. We are obviously referring to the step of placing the graphics card on the motherboard.
After choosing the one that best suits your needs and having it in your hands, there are several things to keep in mind. First of all, you only need to plug it into the PCIe 16x slot that is available on any current motherboard. However, its size may condition the installation of the rest of the components, so you should pay close attention to the graphics card model you have.
Simply put: connecting a GT 1030 is not the same as connecting an RTX 3080. Therefore, it is best to opt for one that fits well with the size of your computer case and motherboard. If you have a fairly powerful model that requires extra power, connect the cable to the power supply.
Step 8 – Properly organize the cables
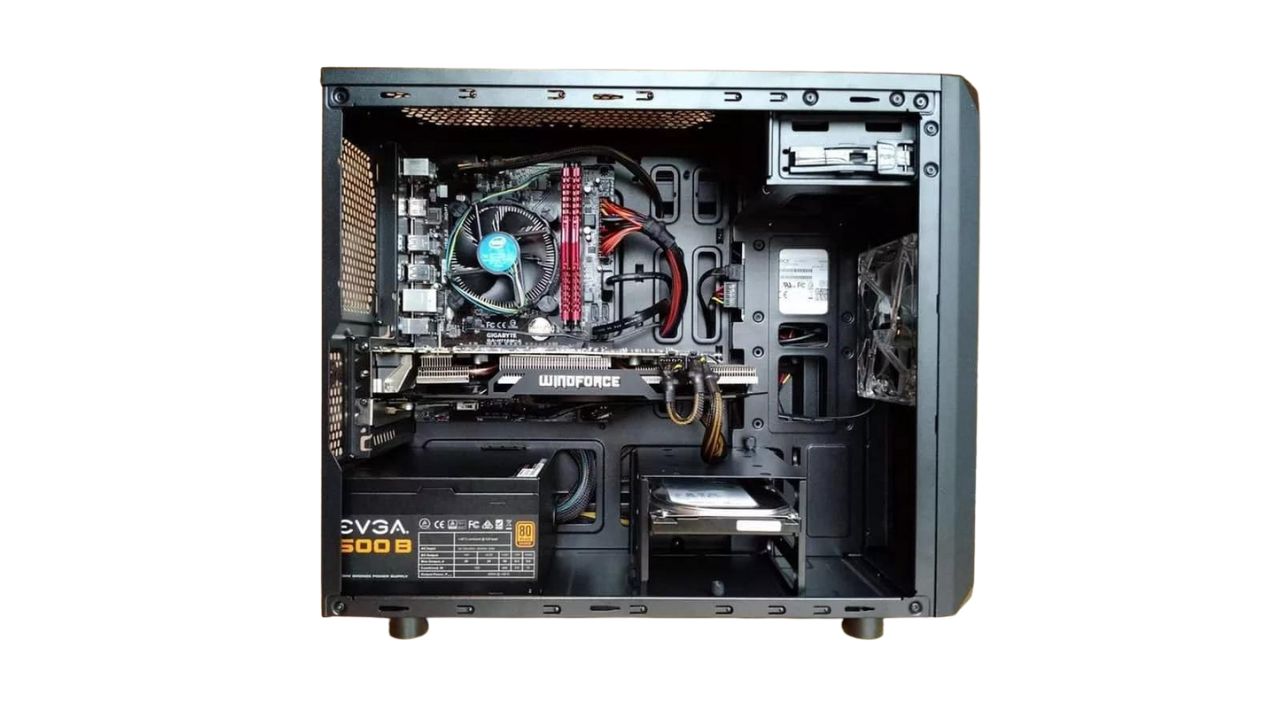
Have you already connected all the components to the motherboard? If so, you have probably noticed that there is a clutter of cables around the motherboard.
To ensure proper cooling and avoid cuts, it doesn’t hurt to start tidying them up. To do this, one tip is to place them on the sides. Another option is to use plastic clamping strips. Also check that they are loose and free of knots.
Step 9 – Turn on the computer and install the OS
With all the cables and components installed on the motherboard, the moment of truth arrives. Close the case, which is highly recommended so that the inside does not accumulate too much dust. After this, press the power button.
Does it turn on and the UEFI BIOS information appears directly on the screen? Job done! If not, don’t worry. The PC may not turn on right away. To fix this, before you go into a rage, you can do the following:
- Make sure the power cords are properly plugged in. Many times, in a hurry, we do not connect them properly to the plug or to the back of the case.
- Check all connections. Repeat the process of connecting the cables to the board. It is possible that some of them are loose. Always pay attention to the manufacturer’s instructions.
- The motherboard must have all its standoffs attached. Otherwise, a simple electrical current can cause it to work incorrectly. So be very careful with this.
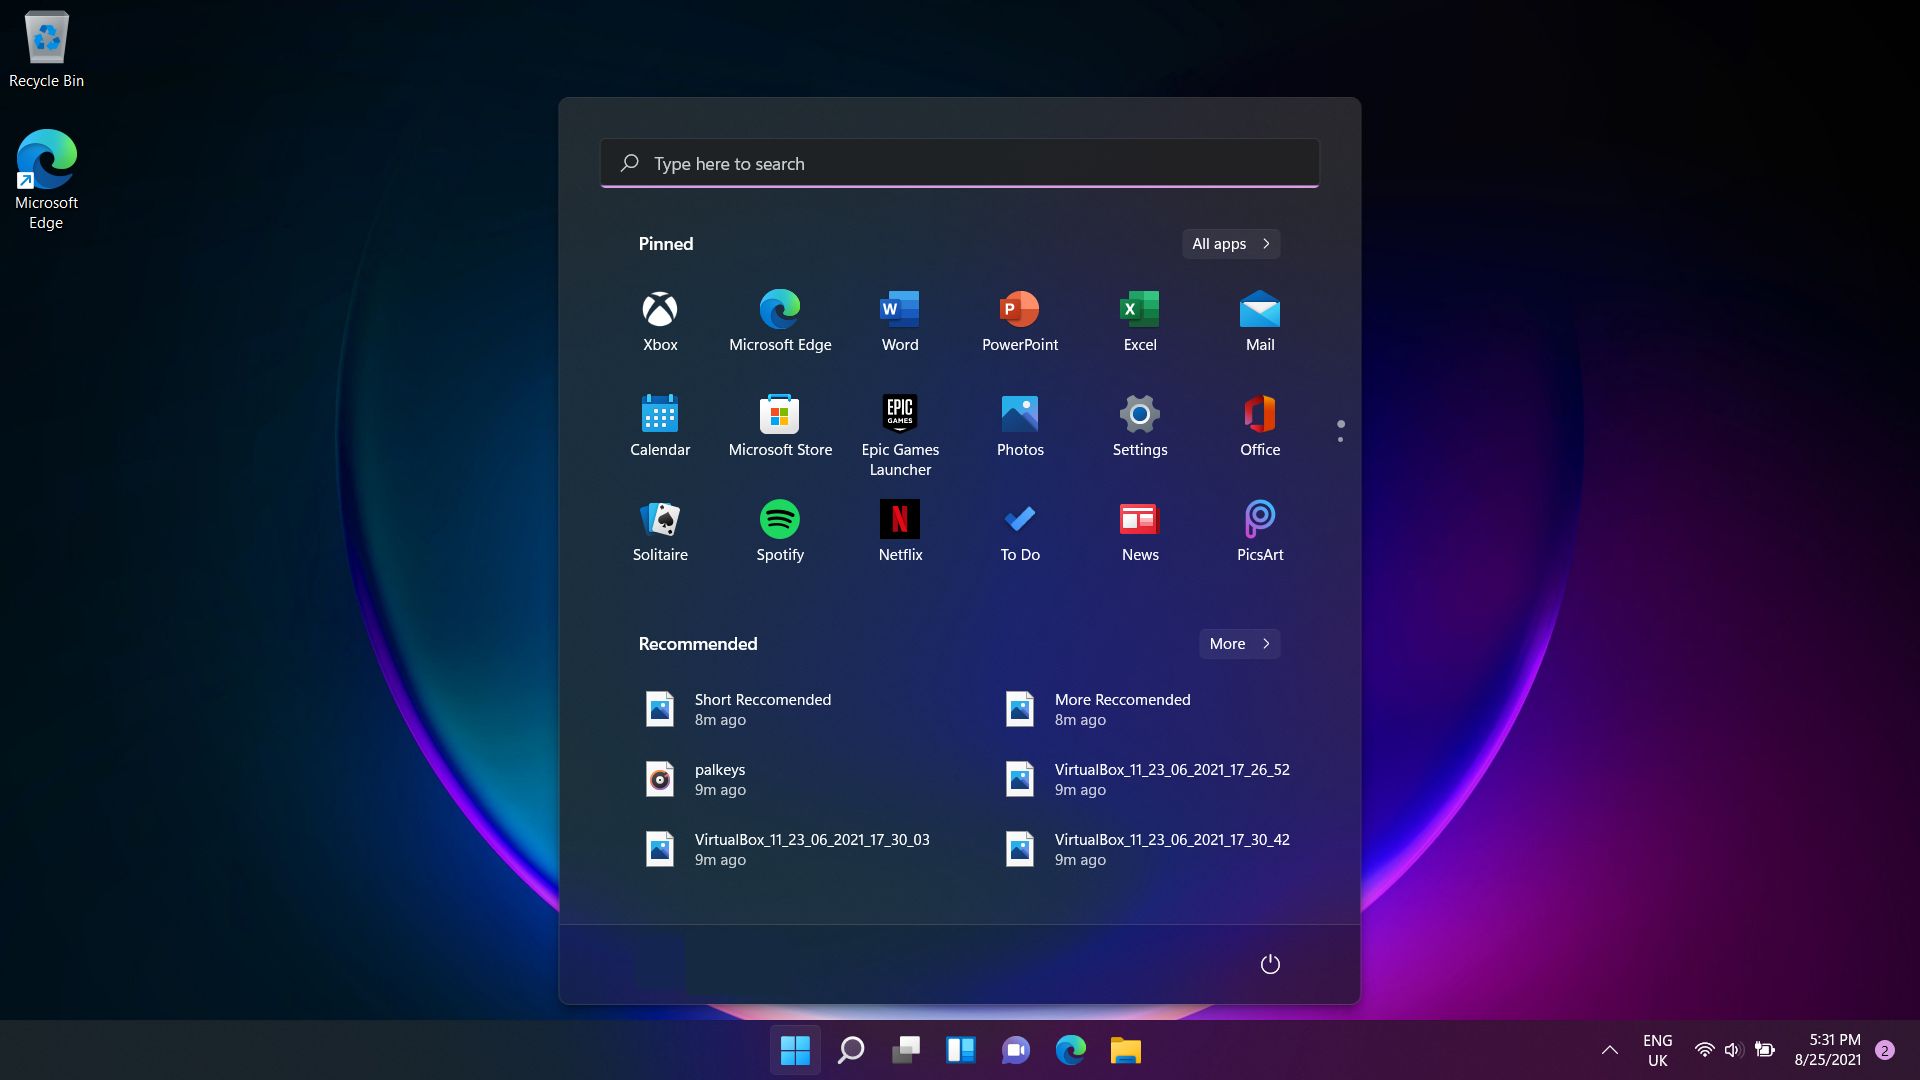
After getting the PC working properly, it only remains to install an operating system, such as Windows 10 or Linux (which is Open Source).
Step 10 – Find and install all drivers
Once the Windows screen starts loading on your computer, install all the drivers, especially the motherboard and graphics card drivers. Without them, it will be impossible to enjoy the sound or image coming to your screen.
Sometimes these components come on an installation CD. If not, you can also download them from the Internet, by going to the manufacturer’s official website. And that’s it! If everything went well, you can now say that you are a user of the glorious PC Master Race.
Tips For Assembling your PC

As you have seen throughout this post, assembling a computer, if you follow all the steps calmly, is a relatively simple process. Finally, we would like to give you some tips when choosing your components and assembling them.
- Take into account the available space. The case or tower of your computer has specific dimensions, as well as each of the components. It may be the case that you have mounted several of the elements and some of the ones you have left to assemble on your motherboard do not have enough space. In this case you will have to change your tower or some of your components.
- Check the compatibility of each component. Not all components are compatible with all motherboards. For example, processor incompatibility with the motherboard is common. Also, some elements may be compatible but their operation together is not recommended.
- Follow a logical assembly process. If you are inexperienced, we recommend that you follow the points described above.
- Assemble as much as possible outside the box. Working with the components inside the box or case is complicated by lack of space, therefore, whenever you can, assemble as many components as possible outside the box.
- Be careful with wiring. An orderly assembly of the wiring will facilitate the operation of the computer as well as facilitate the cooling of the equipment, thus reducing the noise of our computer.
- Check the connections. After assembling each component, check its connection. In this way we will avoid, already with the case closed we will have to undo the whole process because our computer does not work.
Conclusion
Now you know what the motherboard of a computer is for, the types that exist and why it is so important. If you are thinking of assembling your own computer, take into account each of the necessary components and the process you should follow for its assembly. It is a simple process, but it requires some order and organization.