Among the many features included in the Windows 10 and Windows 11 versions, there is one in particular that all gamers are grateful for: the integration of the entire Xbox ecosystem on PC.
Microsoft is well aware that if it wants people to play video games, the main thing is to provide all the facilities in the world, and this is being achieved by releasing games on PC and Xbox, launching a very useful Xbox app on PC, a full integration with Xbox Game Pass and, in the case that concerns us today, an abysmal compatibility with Xbox controllers.
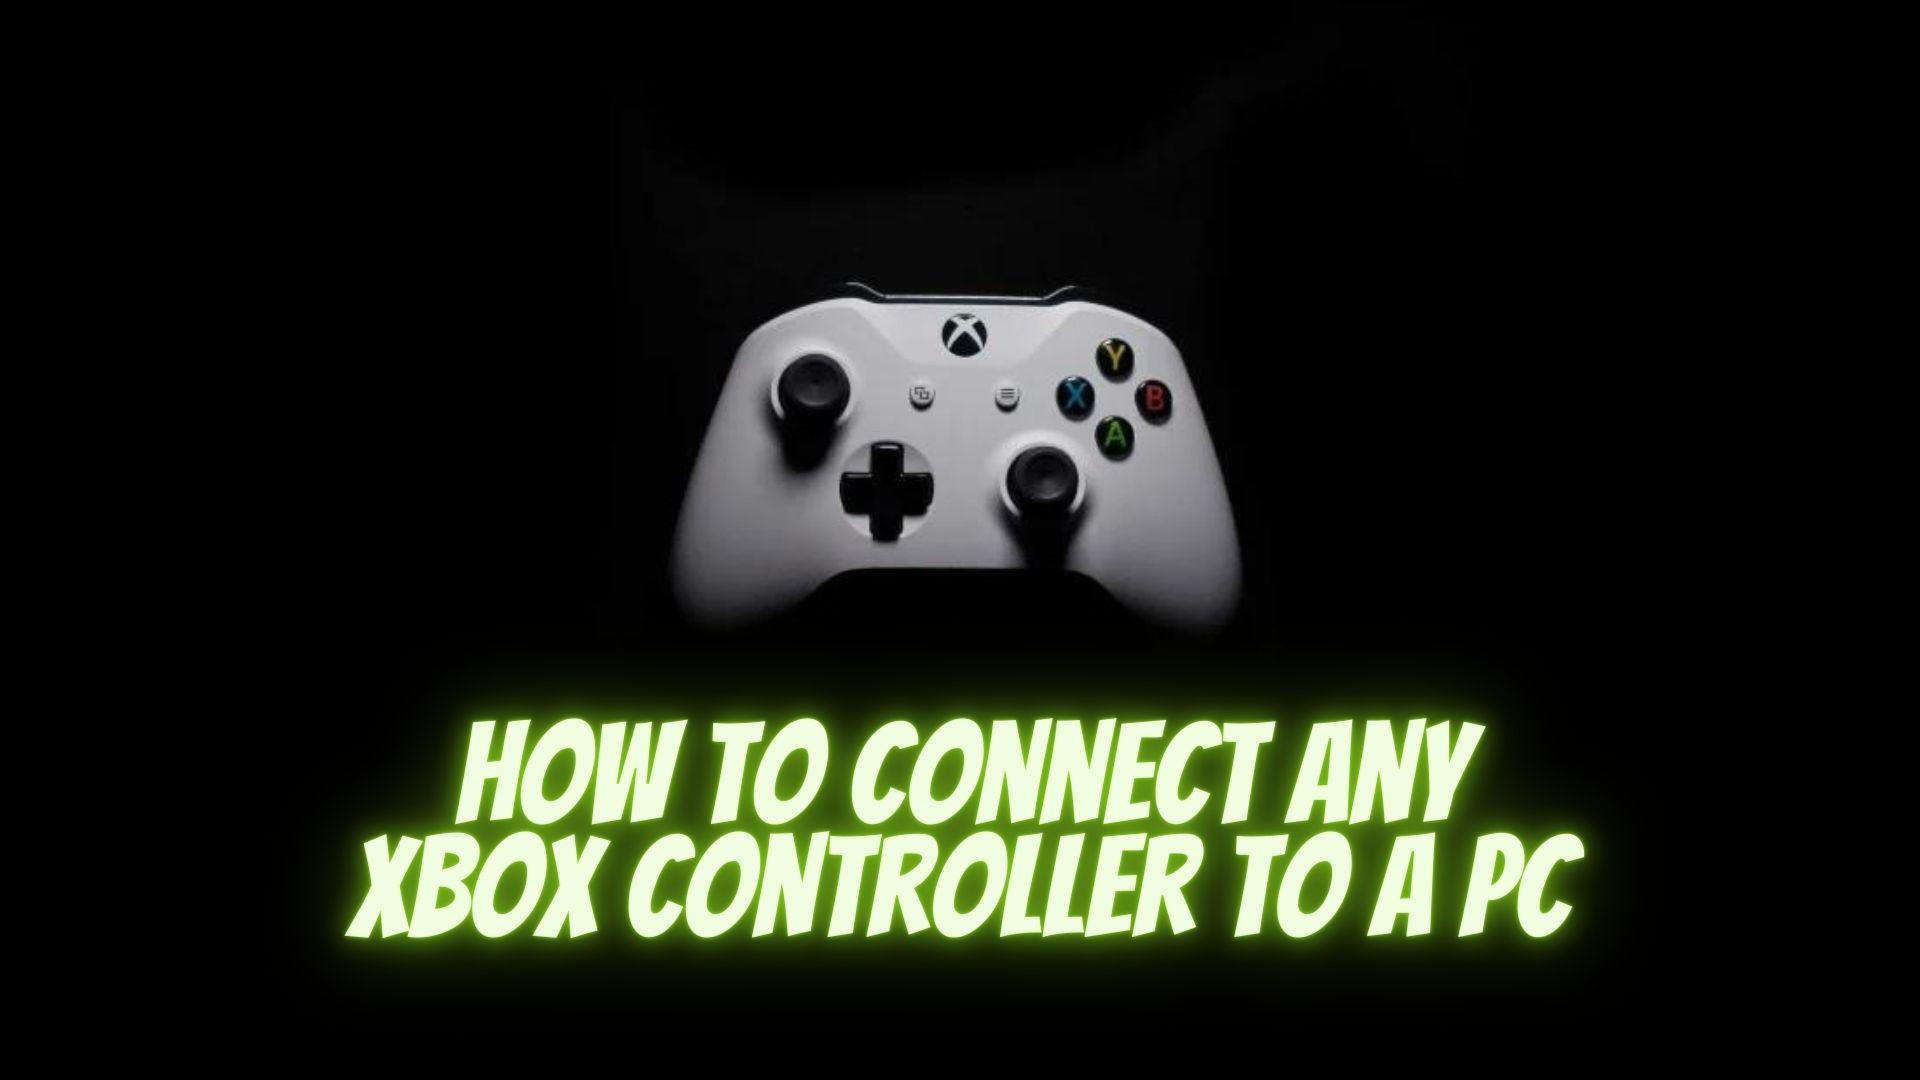
If you want to know more about the latter, we tell you how to connect your Xbox controller to PC.
3 Ways to Connect an Xbox Controller to a PC
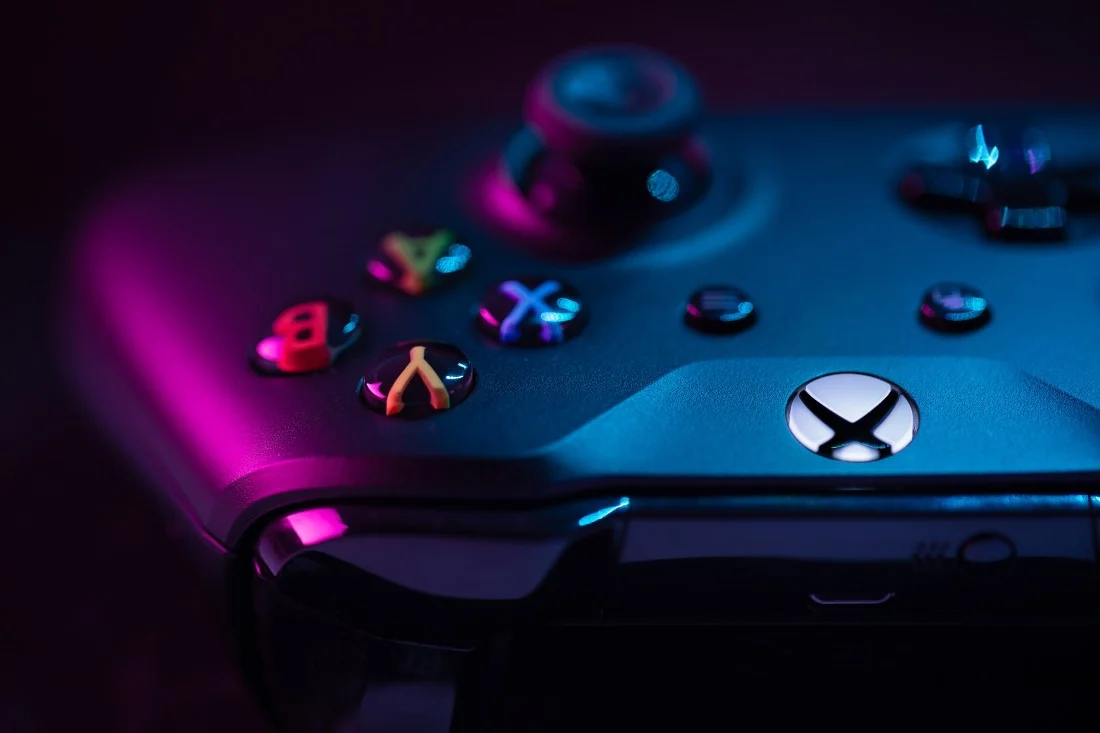
To connect your Xbox controller to PC there are three different ways: 1) via USB, 2) via wireless connection or 3) via Bluetooth. The good thing is that all ways lead to the same destination, i.e. the Xbox controller can be used on PC without any problems.
1. Connect an Xbox Controller via USB
Starting with the first option, via USB couldn’t be easier.
- To start, we need the same USB-C cable that comes with the controller.
- We connect it to the controller and the other end to the PC.
- In a matter of seconds, Windows will detect it and we will be able to use it.
- In case it gives error, pressing the “Xbox” button on the controller should be enough to reactivate the signal.
- That’s it. It is the simplest and easiest method of all.
2. Connect an Xbox Controller Wirelessly
As for the second option, which is via wireless connection, you will most likely need the Xbox wireless adapter. It is true that some PCs already have it built-in, but they are the fewest. Our recommendation is that if you have to buy a controller, do it with this in the pack for the future.
Having said that, to pair a controller via adapter you only need to press the “Xbox” button on the controller and then press the “Pair” button on the adapter. If all goes well, the “Xbox” light will flash, at which point you should press the “Pair” button that is now on the controller, right at the top. Once this is done, the controller will be paired to the PC and the connection will be stable. You will be able to recognize it well thanks to the light of the Xbox symbol on the controller, which will remain still and without blinking.
3. Connect an Xbox Controller via Bluetooth
And lastly, Bluetooth. The procedure is very similar to that of the wireless adapter, as we must first press the “Xbox” button on the controller and then the “Pair” button for at least three seconds. If done correctly, the “Xbox” light will start flashing.
- Now go to your Windows operating system and click Start > Settings > Devices > Bluetooth and other devices and turn Bluetooth on.
- Next, select Add Bluetooth or other device and then Bluetooth. Within seconds, your Xbox controller should appear in the list of detected devices. Choose yours, pair it and you’re done.
As a note to keep in mind according to Microsoft: “You can connect up to eight Xbox wireless controllers at a time or four controllers with Xbox chat headsets. If the controllers have Xbox stereo headsets, only two can be connected at a time.” Via Bluetooth, on the other hand, it is recommended to use only one per PC.
